Sandpaper Grit Chart and Guide (Numbers, Types, and Uses)
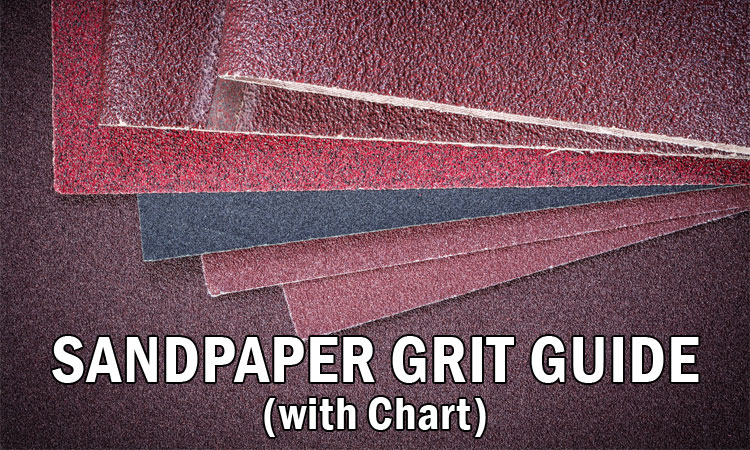
Tired of lackluster DIY results? Transform your woodworking and restore rusted surfaces by leveraging sandpaper, the overlooked hero of any well-stocked garage.
With dozens of varieties for endless applications, a good selection of sandpaper is a must-have for enthusiasts, if you choose the right type and grit.
Whether you’re using it by hand or with some type of sander, we’ll show you how to select the right sandpaper for your project and achieve the best results. So, get ready to take your DIY game to new heights and keep reading to learn more about the many uses of sandpaper.
What Does the Sandpaper Grit Number Mean?
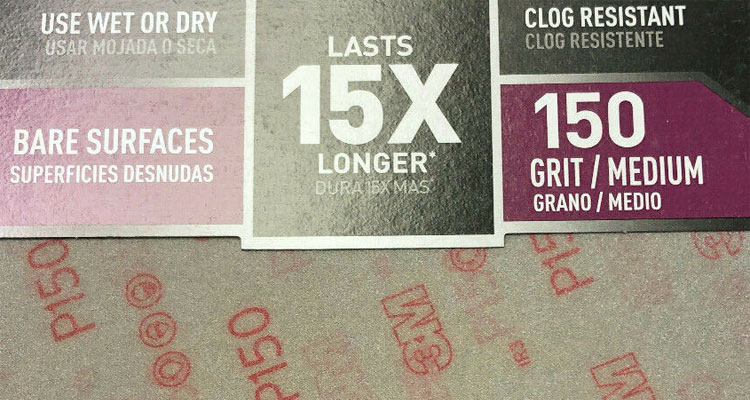
Every piece of sandpaper carries a specific grit rating. This rating describes the size of abrasive materials which is affixed to the paper’s backing. As a general rule, the higher a sandpaper’s grit number, the finer its abrasive media. On the other hand, lower grit sandpaper features much larger abrasive media.
Sandpapers of a lower grit rating are better suited for removing material at a rapid rate, and quickly renewing deeply pitted surfaces. On the contrary, higher grit sandpapers are ideal when attempting to provide working surfaces with a smooth, vibrant finish that is free of unsightly swirl marks.
Sandpaper grit rating is typically denoted by one of two rating designations. These designations include those established by the Coated Abrasive Manufacturers Institute (CAMI) and the Federation of European Producers of Abrasives (FEPA).
If sandpaper grit numbers are prefixed by the letter “P”, then it is considered a FEPA designation, while straight numerical ratings are typical of the CAMI variety. No matter the rating designation, the same low (course) to high (fine) grit is standard.
Related: Wet Sanding vs Dry Sanding (Best Use Cases)
Importance of Grit Sequence
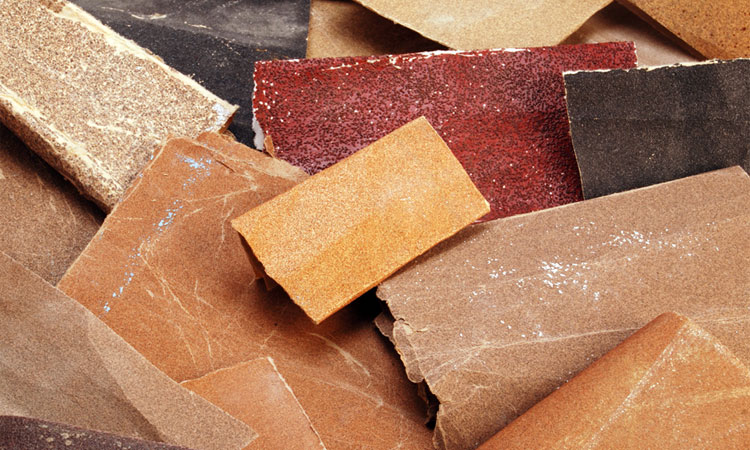
When using any type of sandpaper, it is important to consider the exact goal that is to be achieved. If you are intending to remove excess material from a work surface, then coarse grit sandpaper will serve as the best possible choice.
Alternatively, if you are simply attempting to finish a previously prepared surface, then the use of finer grit sandpaper will be in order.
However, there are many cases where the use of multiple grits of sandpaper is necessary. This is often the case when you wish to remove excess material, yet finish your project in a refined manner. When such a situation presents itself, a proper understanding of the grit sequence is of the utmost importance.
Grit sequence is defined as the order in which multiple grits of sandpaper are used, in relation to one another, when attempting to achieve the desired finish. By following the standard rules of grit sequence, one can obtain any finish that they desire, no matter the original texture of the material that is to be surfaced.
The most important rule of following grit sequence is to move to progressively higher grit (finer) sandpaper upon each application. Doing so removes swirl marks that are left behind when using more aggressive grit paper during the step prior.
It is vital to prevent progressing in grit too rapidly. Doing so can present less than desirable results, which can necessitate repeating prior steps of this sequence. In any event, you should only move on to higher grit sandpaper, rather than returning to coarser grits, unless major imperfections have become evident.
Any project should be finished with the highest grit sandpaper at one’s disposal, or with sandpaper of a sufficiently fine grit to obtain the exact finish that is desired.
Sandpaper Grit Grade
Macro Grit Sizes
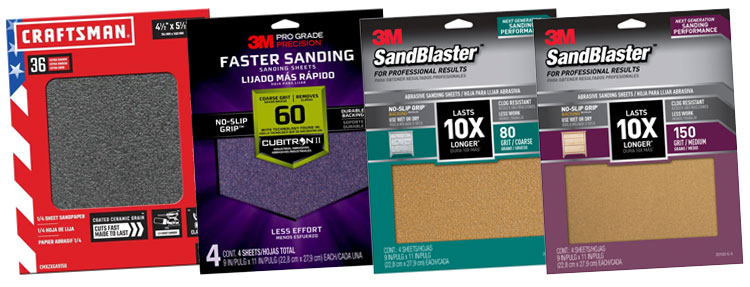
Extra Course Sandpaper (#24 to #36)
- Purpose – Removes material at a rapid rate
- Used For – Initial prep-sanding of hardwood, blending welds, even rough metal edges
Course Sandpaper (#40 to #60)
- Purpose – Removes excess material, levels uneven surfaces
- Used For – Shaping edges on hardwood, paint removal, blending welds or fabricated surfaces
Medium Sandpaper (#80)
- Purpose – Great for all-around medium-duty sanding
- Used For – Finishing hardwood, evening surfaces, removing varnish, removing rust
Fine Sandpaper (#100 to #120)
- Purpose – Final shaping and finishing of hardwoods
- Used For – Finishing wood surfaces, removing swirl marks, water stain removal, plaster removal, paint prep, sanding drywall
Very Fine Sandpaper (#150 to #220)
- Purpose – Excellent for final sanding of most delicate projects
- Used For – Sanding bare wood, removing light swirl marks, prep for wood stain, sanding acrylics
Micro Grit Sizes
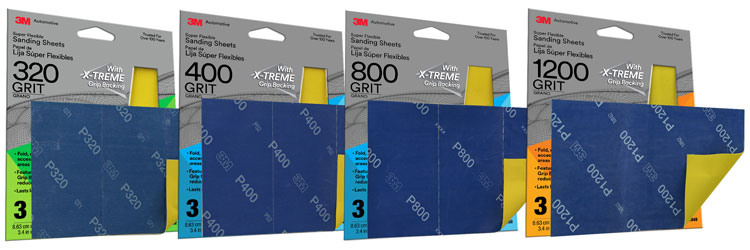
Very Fine Sandpaper (#240)
- Purpose – Fine sanding, delicate prep work
- Uses For – Sanding finishes, intermediate drywall sanding
Extra Fine Sandpaper (#320 to #360)
- Purpose – Excellent for wood polishing or final sanding
- Used For – Finishing wooden surfaces to a fine polish, wet sanding heavy finishes
Super Fine Sandpaper (#400 to #600)
- Purpose – Removing fine inconsistencies, polishing delicate materials
- Used For – Restoring car headlights, polishing wooden surfaces, wet sanding
Ultra Fine Sandpaper (#800 to #1000)
- Purpose – Finishing the most delicate of materials
- Used For – Removing light scratches from glass, restoring automotive headlights, finishing polymers and acrylics
Sandpaper Grit Chart
| Class | Type | Grit Range | Common Uses |
|---|---|---|---|
| Macro | Extra Course | #24 to #36 | Rapid material removal, heavy sanding of hardwood |
| Macro | Course | #40 to #60 | Heavy sanding, leveling of uneven surfaces, evening welds |
| Macro | Medium | #80 | All-purpose wood sanding, rust removal, stripping varnish |
| Macro | Fine | #100 to #120 | Finishing hardwood, sanding drywall, paint prep, plaster removal |
| Macro | Very Fine | #150 to #220 | Sanding bare wood, sanding acrylics, removing swirl marks |
| Micro | Very Fine | #240 | Sanding finishes, paint prep (in between coats) |
| Micro | Extra Fine | #320 to #360 | Polishing wood, wet sanding heavier finishes |
| Micro | Super Fine | #400 to #600 | Wet sanding, polishing wood, restoring headlights |
| Micro | Ultra Fine | #800 to #1000 | Finishing plastics, surfacing glass, fine wet sanding |
Grit Material
Though one would be tempted to believe that all sandpaper is of the same general makeup, this is actually far from the truth. Sandpapers differ greatly in the types of abrasive material that they feature.
The most popular types of sandpaper abrasives include ceramic, aluminum oxide, garnet, flint, and silicon carbide. Each of these individual sandpaper types has their own specified uses, and are more adept for particular tasks.
Ceramic
Ceramic sandpaper is extremely durable and is typically red in color. Sandpaper of this type is used heavily in both wood and metal applications, while also being a favorite of those who utilize power equipment when sanding various surfaces.
It is worth noting that ceramic sandpaper often commands a higher price than that which features alternative forms of abrasives.
Aluminum Oxide
Aluminum oxide is synthetic in nature and is typically denoted by its tan or gray appearance. Sandpaper of this variety can be used in numerous applications, including sanding wood and metalwork.
This variety of sandpaper is also known to be quite resilient and is a favorite of many avid DIY specialists.
Garnet
Garnet is a natural abrasive that often takes on a red or golden appearance. Sandpaper of this nature is known to be well suited to numerous small tasks, yet is not durable enough to be used in large surfacing projects.
Garnet sandpaper is often regarded as one of the best available options for meticulously finishing wood surfaces.
Flint
Much like garnet, flint is a natural abrasive that is used regularly by those finishing wooden surfaces. Sandpaper of this type most often takes on a beige appearance and is not as durable as many alternative sandpaper types.
However, flint sandpaper can typically be purchased at a rather economical price point.
Silicone Carbide
Silicone carbide consists of a synthetic makeup and ranges in color, but most commonly takes on a gray or charcoal appearance.
Sandpaper of this variety is largely impervious to water, making it an excellent choice for wet sanding, though many also use silicone carbide sandpaper for dry sanding applications.
Silicone carbide sandpaper is also a favorite of those who routinely finish painted or treated surfaces.
Tools Used With Sandpaper
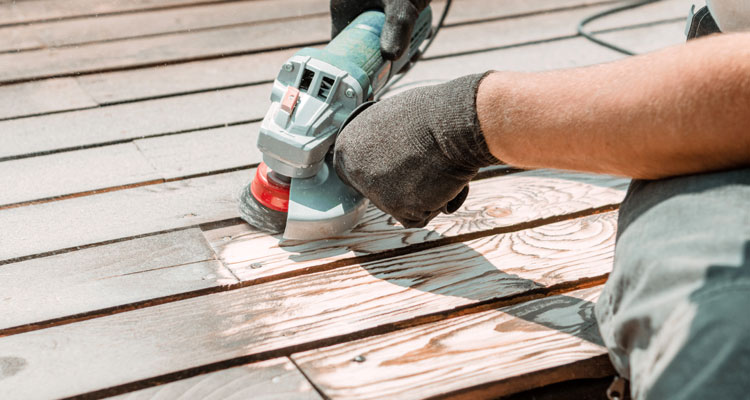
Sandpaper can be applied to a surface in many different ways. The preferred method of application depends upon multiple factors including the size of the area that is to be surfaced, the material which is being treated, and any contours which must be worked around to obtain the desired results.
The following are several of the most common tools used with sandpaper.
Sanding Block
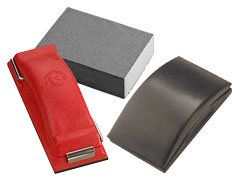 A sanding block or sanding sponge is the go-to for those attempting to work small to moderately-sized surfaces, to a high degree of uniformity. These blocks feature both a flat and beveled side, as well as clasped end joints that secure sandpaper in place.
The flat side of a sanding sponge or block allows the sandpaper to be drawn across a surface in a concise manner, while the beveled side of a sanding block provides an ergonomic grip for its user. The slight give makes these ideal for sanding edges.
Pole Sander
 A pole sander consists of a face and clamping mechanism, which is attached to a pole that provides an extended reach. Sandpaper is affixed to the clamping head of a pole sander, which holds it securely in place during the course of one’s efforts.
The length of the sander’s pole allows the unit’s user to access otherwise unreachable areas, in a timely manner. Sanders of this variety are a favorite of those in the drywall business or those who are otherwise surfacing walls of an alternative design.
See Also: How to Sand Concrete With a Pole Sander
Random Orbit Sanders
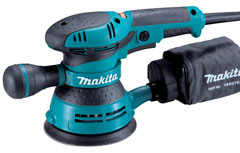 Random orbit sanders are electrically controlled devices that oscillate in a non-directional manner. Sandpaper is affixed to the head of this device, allowing its user to sand and finish surfaces in a much more timely manner, than would be the case with a traditional sanding block.
Random orbit sanders also prevent swirl marks from being etched into any surface that is being treated.
Orbital Sanders
 Standard orbital sanders are electrically controlled devices that oscillate in a defined manner, thereby removing material from any surface that is being treated. Devices of this nature feature a rectangular head, to which a sandpaper sheet is affixed.
Orbital sanders are excellent for finishing small to moderately sized surfaces, though they are often not aggressive enough to cover large surfaces in a timely manner.
Detail Sanders
 Detail sanders can most easily be defined as an orbital sander, with a triangularly shaped head. Much like orbital sanders, a device of this nature is electrically controlled and oscillates in a defined manner.
However, due to a detail sander’s non-traditional head shape, work can be more easily conducted around edges and other difficult to reach areas.
Benchtop Sanders
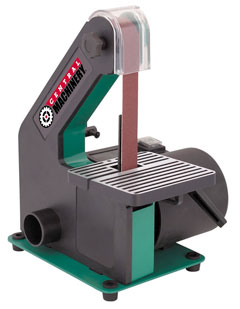 Benchtop sanders are electrically controlled sanding devices, of a stationary variety. These sanders are typically fixed to a workbench and can be of a sanding belt or disc-style configuration.
Benchtop table sanders are excellent for removing material in a time-efficient manner. However, they are only of use in applications where one possesses the mobility to move the project at hand about, in a relatively free manner.
But that is also one of their main benefits. You are able to use both hands to control the workpiece so it can be used for fine detail work as well as quickly remove large amounts of material. The downside is the amount of space they require.
Handheld Belt Sanders
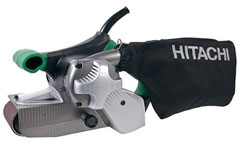 Handheld belt sanders are a form of power tool that possesses the mobility of an orbital sander, but is capable of removing material in an aggressive manner, much like a benchtop sander.
A belt of sandpaper is affixed to this tool, where it continually rotates, removing excess material in the process. Caution should be used when operating a handheld belt sander, as overzealous use can result in surface imperfections and burn spots.
Rotary Sanders
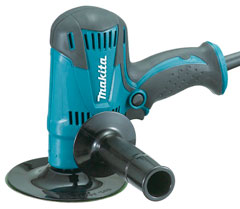 Rotary sanders come in many different forms and can be powered both electrically and pneumatically. Most tools of this nature utilize a specialized bit or ending disc, to remove excess material from any surface being treated.
Rotary sanders tend to be a favorite of those who are conducting highly detailed or intricate work, as relatively small areas can be treated, while leaving the greater surface unaffected, as a whole.