Best Paint for Garage Walls (Type, Sheen, Color)
Back in the early days of automobiles, owners would store their vehicles in stables or sheds. These were the precursors to garages and the source of our dismissive mentality towards them. Those who didn’t own cars often used these spaces as storage, filling them to the brim with holiday decorations and old furniture.
This began to change in the 50s when greaser culture took hold. These guys would spend hours every day in the garage, blasting rockabilly on the radio as they worked on their hot rods. Over the next few decades, aspiring rockers would gather with their “garage band”, using the space to practice sets and annoy the neighbors.
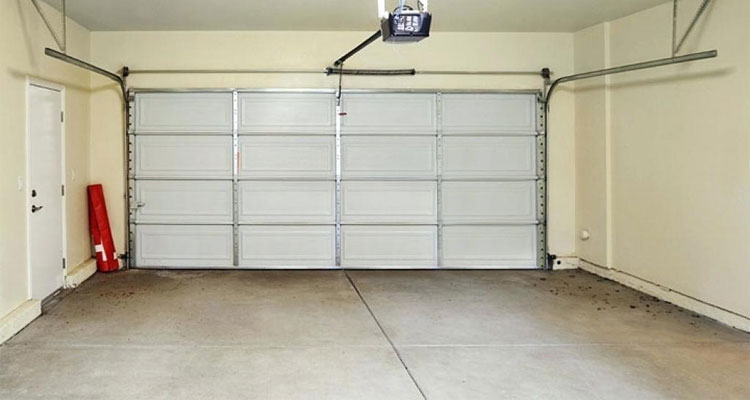
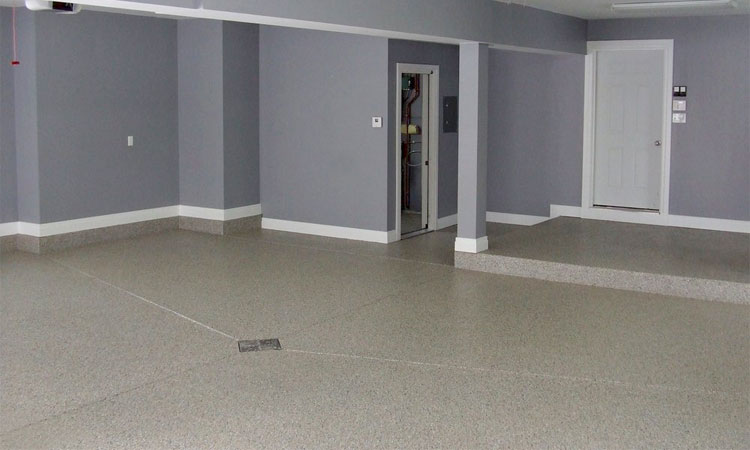
The modern garage has continued to evolve, and today they function as storage, vehicle shelters, workshops, mechanic stations, and even living space. Indeed, these rooms are now just as important to many households as the living room or kitchen. So why not treat them as such with a fresh coat of paint?
When looking to buy the best paint for garage walls, there are a few things to consider including paint type, sheen, durability, and finally color. Whether it’s a new garage or you’re wanting to make that old garage look new, what we recommend.
Our 5 Favorite Paints for Garage Walls
| Product | Type | Has Primer? | Coverage | Sheens | Dry to Touch | |
|---|---|---|---|---|---|---|
 | Glidden Premium | Latex | Yes | 400 sq. ft. | 4 | 30-60 min |
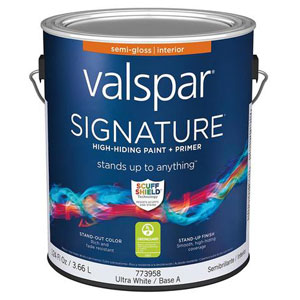 | Valspar Signature | Latex | Yes | 400 sq. ft. | 4 | 60 min |
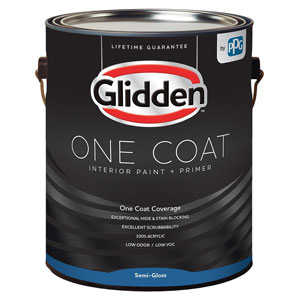 | Glidden One Coat | Latex | Yes | 400 sq. ft. | 3 | 60 min |
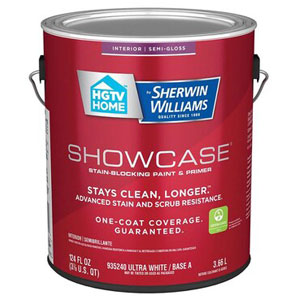 | HGTV Home Showcase | Latex | Yes | 400 sq. ft. | 4 | 60 min |
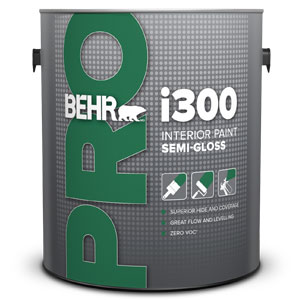 | Behr Pro i300 | Latex | No | 400 sq. ft. | 3 | 60 min |
Interior Garage Paint Reviews
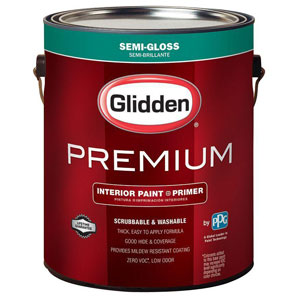
#1 – Glidden Premium Interior Paint & Primer

Once applied, the paint has a quality finish, scrubbable surface, tintable mildew resistant coating with over 1,100 colors, and is backed by a lifetime guarantee. Note that some of the available colorants may increase VOC levels, depending on the colors chosen.
What makes this an amazing pick for the garage is the fact that this paint is designed for families and high-traffic areas so you know it’s durable enough for a garage. It dries to the touch in as little as 30 minutes which is about half the time as the competition.
It’s easily washed with soap and water and can handle a good scrubbing without taking damage. The mildew resistance also really helps out in a garage environment where humidity may be higher than the rest of your home.
One gallon can cover up to 400 square feet and often only needs a single coat. However, some color choices will require multiple coats, especially when painting light on dark.
For many garage colors, one coat will suffice, but you will have to wait for a coat to dry completely before adding any additional coats to ensure an even finish.
>> Check current price <<
#2 – Valspar Signature High-Hiding Interior Paint & Primer

The 2-in-1 paint and primer mix is fully Greenguard Gold certified to protect your family’s health and does an excellent job of hiding previous colors while giving a beautiful fade-resistant finish backed by a lifetime guarantee.
When taking your time and properly prepping the walls before painting, you’ll usually be able to get a perfect finish with just one coat. Obviously, light on dark will require multiple coats, but this paint will almost always get even those jobs done in as little as two coats.
Be warned, Valspar paints tend to set very quickly, but still take time to fully dry before additional coats may be added. Rushing to add another coat will result in an uneven finish.
It may also be incompatible with some primers due to the acrylic latex mix, so it’s often best to use this paint on a non-primed surface.
>> Check current price <<
#3 – Glidden One Coat Interior Paint & Primer

The primer itself comes in flat, eggshell, and semi-gloss finishes to give you the perfect final look. As with Glidden Premium, this line is scrubbable and stain resistant.
You’ll get great coverage with this paint, as a single gallon will cover about 400 square feet. Plan for two gallons when covering a dark color. The paint itself dries at a decent rate, with it becoming touchable in an hour and ready for any additional coats in only four hours.
As with many wall paints, it can take a month to fully cure and achieve maximum durability. The eggshell/satin finish is a little flatter with this brand, depending on your color choice, so plan ahead before ordering if you’re looking for a specific amount of gloss.
>> Check current price <<
#4 – HGTV Home Showcase (by Sherwin Williams) Interior Paint & Primer

It’s Greenguard Gold certified, 100 percent acrylic, mildew resistant, and is covered by a lifetime guarantee.
This paint applies with nice, smooth coverage. In many cases, a single coat will do a good job, although darker colors will need multiple layers to completely cover. Be warned, the splatters of this paint can be a bit more difficult to clean than others, so be sure to use painter’s tape and surface covers.
>> Check current price <<
#5 – Behr Pro i300 Interior Latex Paint

This paint is a great choice for when you want a high quality yet inexpensive paint for your garage walls. It dries quickly and gives great, durable coverage.
Keep in mind, however, this isn’t a 2-in-1, so you need to prime the walls before painting them.
>> Check current price <<
FAQs
What is the Best Type of Paint to Use?
There are two general types of paint: water-based (latex or acrylic) and oil-based. While oil based paints are OK to use indoors, they’re a pain to work with, take much longer to dry, need paint thinner to thin them out, are hard to clean up, and have a very strong odor which can cause severe health issues.
Latex paint is what you want to use when painting the interior of your garage in 99% of cases. It is sometimes referred to as acrylic paint and they work the same. They have much lower levels of chemical vapors, can be thinned out with water, dry faster, and cleanup is much easier.
ALWAYS use paint labeled for Interior use when painting the inside of your garage. You may think exterior paint is more durable to stand up to the harsh conditions in a garage, but the toxic chemicals they contain can’t be dissipated into the outside air so they would instead go into your lungs. A good interior paint is plenty durable without the high toxicity factor.
See Also: Paint Thinner vs Acetone vs Mineral Spirits (Pros/Cons/Uses of Each)
What is the Best Paint Sheen to Use?
For interior garage walls and ceiling, you’ll want to use either a satin or semi-gloss sheen. They offer the best combination of durability, ease of cleaning, and reflective properties (to hide wall imperfections). Behr has a good article on their site showing the differences in sheen.
A satin finish will do a better job of hiding small imperfections in wall surfaces but will be just slightly less durable and harder to clean than semi-gloss. It’s a good sheen to use for older homes or if there are some minor dings and dents in the walls.
A semi-gloss finish is recommended in the majority of cases as it’s super easy to clean and stands up to harsh conditions. The only downside is that it’s a bit more reflective so if your walls aren’t perfectly smooth, it will be a bit easier to notice.
While a high gloss paint would technically be the most durable, it’s simply too reflective for a garage and highlights every tiny imperfection.
Is a Coat of Primer Necessary?
The short answer is YES in almost all cases. If you’re like most people, your garage is currently unpainted and has sheets of drywall connected with drywall mud and tape.
If you were to simply apply paint on top of that, the drywall would simply absorb some of that paint and every seem or imperfection would show through.
A coat or two of primer (we recommend Kilz PVA) would create a seal on top of the drywall paper, smooth out the surface, and allow the top-coat to bind and stick to the surface.
Even if you’re using a 2-in-1 paint + primer, you’ll want a coat of primer. Remember, primer alone is much cheaper than the 2-in-1 so you want that going into the surface of the drywall.
If your walls are already painted, a coat of primer is still best (use Kilz 2 Primer for already painted walls). It will allow you to get away with only 1 coat of paint where otherwise you’d need two.
The only instance where you would not need primer is if your walls are already painted in a light color, in good condition, and you’re using a 2-in-1 primer + paint combo.
See Also: What is PVA Glue? (and Common Uses)
What is the Best Paint Color for Garage Walls?
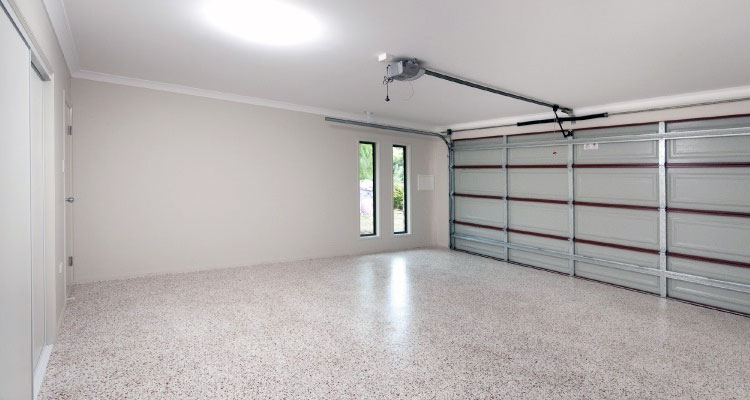
Try to go for a neutral color. Light gray, beige, and tan are all great choices, as are neutral tones of blue or green. White adds brightness to the space but will also show dirt more easily than a neutral shade. These colors lend a degree of brightness to the room and compliment your chosen decor.
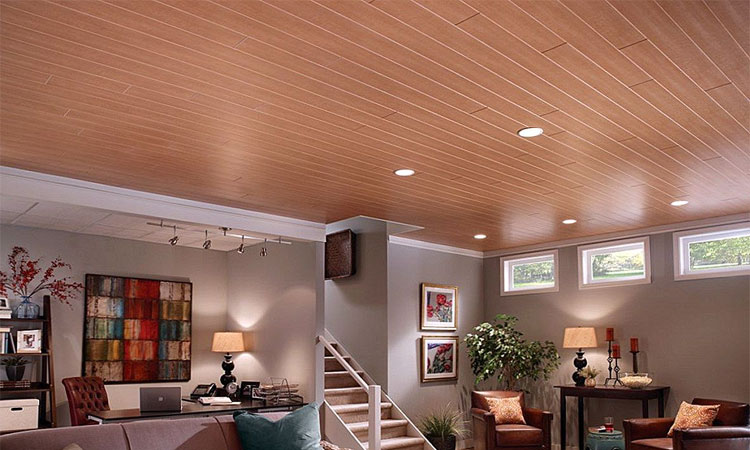
When painting or covering the ceiling or floor, be sure to choose a color that will work well with these surfaces. Also consider additional surfaces such as the garage door. You’ll want to either compliment these or paint them as well.
See Also: 8 Garage Ceiling Ideas
How to Paint Garage Walls and Ceilings
As we’ve already seen, the garage has evolved from a humble beginning to a central area in many modern homes. But garages, much like basements or attics, won’t reach their full potential when left unfinished.
The first (and arguably most important) step is painting the interior. However, this is a more complicated process than adding a new coat to the spare bedroom, and following all of these steps and tips will help ensure a wonderful, inviting garage space for years to come.
Step 1: Clean Surfaces
Your garage attracts far more air pollution than the other rooms in your house. Nor only have the walls been soaking up car exhaust, but they’re likely caked with years of dust, dirt, and grime.
Begin the cleaning process by grabbing your shop vacuum and giving the ceiling, walls, and floor a good go-over to suck up as much dirt, sawdust, dead bugs, and spiderwebs as possible. Always work from the top down and try to get all surfaces dusted or vacuumed.
Next, get a bucket and some hot, soapy water. Dawn is one of the best detergents to use, since it’s gentle on the walls (which may be slightly brittle from neglect).
Unless you plan on painting the ceiling and floor, you can skip washing those, although you’ll want to clean along the edges so you can mask them later on. Use a rag or sponge mop and gently clean every inch of the walls. Avoid pressure washers or abrasives.
For really dirty or greasy areas, using TSP (Trisodium Phosphate) is a good option but extra care must be taken when cleaning with it.
This first step is absolutely essential, as paint will stick to dirt but not to a surface covered by dirt. Garage-friendly paints aren’t cheap, so painting over a dirty surface means the paint will peel or crack in a relatively short time and require repainting.
In the event the walls are too brittle, you may wish to add drywall over the freshly cleaned surfaces once they’re dry. This is especially true of old concrete or cement walls.
Step 2: Prep and Prime
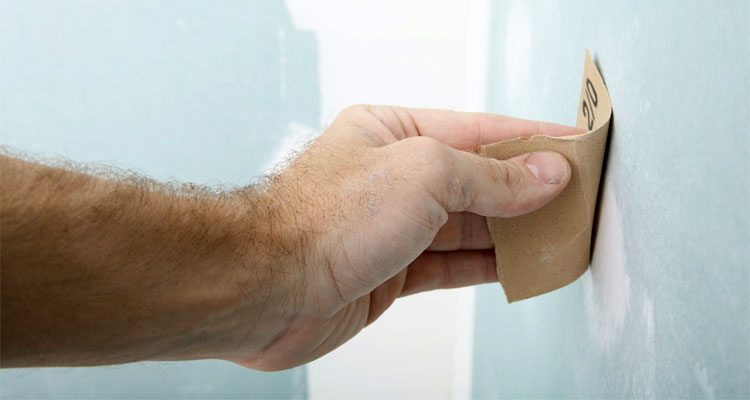
Pay attention to the surface you’re working with. Any surface that may show signs of damage needs some extra attention before you can proceed. Old concrete or drywall needs any cracks or dents filled and smoothed over.
Wood may require plenty of sanding and additional cleaning to ensure a smooth, paint-friendly surface. Brick or cinder block can be further cleaned with a wire brush and TSP for a primer-friendly surface.
Related: How Many Coats of Primer Do You Need?
You may be lucky enough to have a previously painted wall, but was the paint oil or latex? Take a Q-tip or cotton ball and dip it in alcohol (isopropyl, not your good vodka). Rub this over a small section of the cleaned, painted surface. Latex will come off as you rub, but oil will remain. This is important, as mixing the two will always result in disaster.
In the event you’re working with drywall or a bare surface, 1-2 coats of primer will be necessary. Choose a primer that contains PVA (polyvinyl acetate). PVA soaks into porous surfaces and helps create a seal, resulting in a more even finish with fewer coats needed.
You can add primer to a previously painted surface as well to reduce the number of coats needed to cover the original color. The primer will also cover any old stains, although oil-based primers (when possible) tend to work best over stained surfaces.
Step 3: Pick Your Paint
Once you know what type of paint to get, you need to make sure you have enough. Note that acrylic is similar to latex, except the ratio of polyvinyl chloride is higher in the former than the latter. This means it’s easier to blend and sometimes doesn’t require primer to use. However, latex is generally the better choice for a garage interior, as it tends to have a more attractive finish.
While oil-based paint is not the best choice for garage walls, it does resist moisture better and won’t cause reactions with a lot of common garage substances, but can be more expensive than latex or acrylic.
As noted earlier, oil-based paints take longer to dry and the garage will need aired out until the paint fully cures. You can use latex on walls that have existing oil paint, but only if you sand the walls down before priming.
Check the recommendations on the can and purchase enough to apply at least two coats for your size of garage, even if the paint claims it will do the job in one. This not only lets you get a more even finish, it will also help cover any trouble spots. Again, remember to avoid using an exterior paint, as these release harmful chemicals that can lead to a variety of health issues.
Step 4: Have at It!
Once all the preparations are complete, cover the edges of the ceiling and floor with some wide masking or painter’s tape to avoid an uneven job. Remove any objects you haven’t already taken out of the garage and throw some painting tarp or newspaper on the floor in case of splashes or dripping.
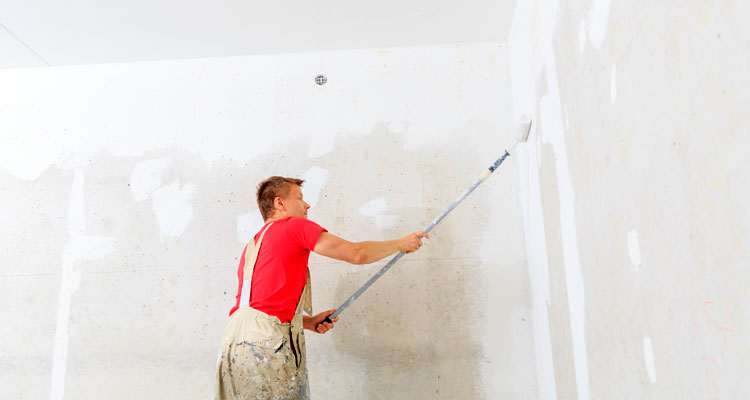
You’ll want to use a good brush to paint along the edges and corners. Try to ensure the brushed areas extend at least six inches from the edge. The rest of the surface can then be easily covered using a paint roller.
When using a roller, you may choose to use the “W” method (make a wide W with the freshly-loaded roller, then proceed to paint vertically) or run the roller horizontally, going from one end to the other and working from the top of the wall down. This latter method results in less dripping but is more annoying when painting an especially wide wall.
Be sure to keep the room ventilated and allow the paint to dry completely between coats. Any drops of paint that hit unprotected surfaces may be wiped away while still wet, and globs can usually be scraped away with a credit card or painter’s knife if they’ve already started drying.
When completely finished, gently peel the tape away at a diagonal angle, being careful not to pull away any of the paint from your edges. When in doubt, you can place a chisel carefully along the edge as you pull to help create a crisp separation point.

