How to Use a Car Buffer to Polish and Wax Like a Pro
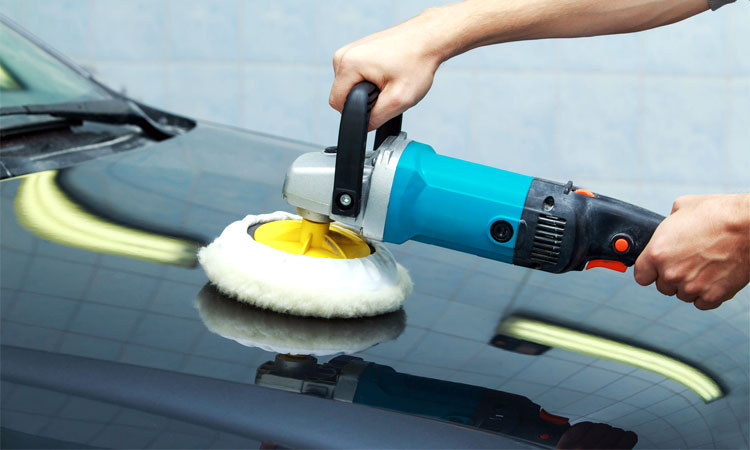
Polishing and waxing your car can be a total pain, but the benefits are undeniable. From the factory, the only thing protecting your car’s paint from the elements is a thin layer of clear coat.
Just normal driving and outdoor parking can place a heavy burden on the clear coat and it typically doesn’t take long before a cars finish becomes dull and weathered. This is where polish and wax come to our rescue.
Car polishing removes the fine scratches that occur through the course of normal driving.
Waxing then protects the clear coat from further damage by leaving a thin protective layer on the clear coat.
Both of these tasks can be tedious at best when done by hand, but power car buffers can drastically reduce the time and effort required. They can also produce high quality results that can’t otherwise be duplicated.
However, car buffers require special care and skill in order to prevent damaging the clear coat. Here are some tips to buffing a car with a car buffer.
Understanding Buffer Types
Buffing a car can be done with or without a polishing agent. Polish is almost always recommended, as it serves as a mild abrasive and lubricant reducing the time required and damaging heat build up. Before starting, it’s important to understand the characteristics of the buffer you will be using.
Rotary Buffer
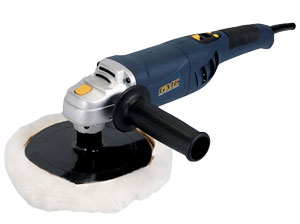
The speed is voltage controlled, meaning the pad speed can vary based on the load applied making for inconsistent results. Because the pad is always simply rotating in a circle, it’s most susceptible to leaving swirl marks in the paint.
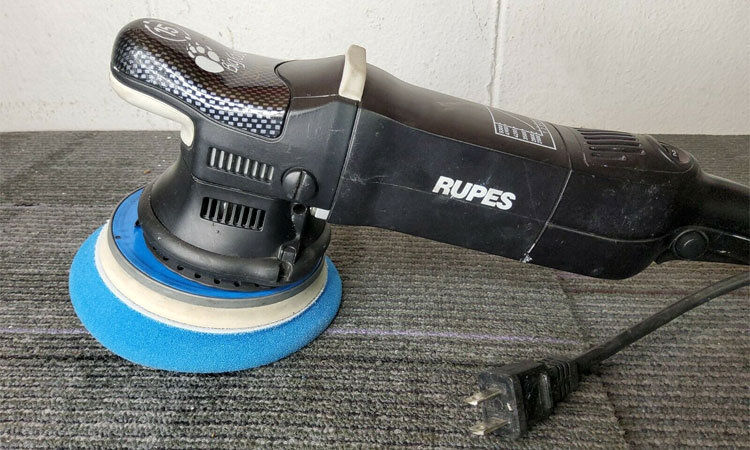
DA Polisher
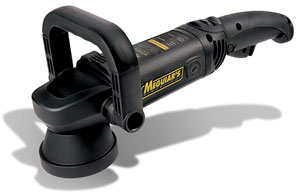
It is more expensive than a rotary polisher, but for good reason. Because they spin/oscillate in 2 different ways, they are much safer to use, even for a beginner.
The best models feature adjustable speed control and utilize smart motors and transmission to maintain a constant pad speed regardless of load.
This makes for very predictable performance and consistent results with little chance for damage to the clear coat.
How to Buff a Car
IMPORTANT: Obviously you’ll want to start with a clean car to lessen the chance of scratches so make sure you spend some time hand washing it. See “How to Properly Detail Your Car’s Exterior” for step by step instructions.
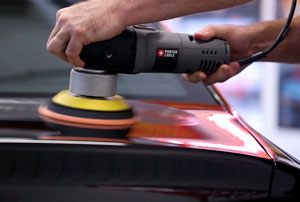
Once you have confirmed that there are no unpleasant interactions between your car and the products you’ve chosen, start by choosing a large and flat panel and work panel by panel.
Add a small amount of polish directly to the buffing pad then touch the pad to the car surface cycling the buffer a few rotations just to get the product distributed on the pad. Using light to moderate pressure and wide sweeping strokes, work the product into the paint.
It is important to take your time, as consistency in speed and pressure is the key to good results. Once you have completed one or two panels, you can switch your buffer to a clean microfiber or soft terry pad and buff away the remaining polish to reveal a vibrant shine. Work in this way around the entire vehicle.
How to Wax a Car
Waxing a car is pretty much the same process as buffing a car. You still want to manage your speed and pressure with great care.
The largest difference is that you will use a much lighter pressure in applying wax than used in buffing. With waxing, you simply want to coat the surface, not remove any foreign material.
When waxing a car, it’s best to split up the car into sections. When you have a finished a section, wait for approximately 10 minutes, until the wax has set fully. Then take a clean microfiber towel and use circular motions to remove the dried wax. You will need to periodically flip the towel to a clean unused portion.
You can determine if the wax has dried by swiping a finger across the surface. A clean swipe indicates it is dry and ready for buffing. If the wax still streaks when swiped, it is not quite ready for buffing.
Because wax is a protective coating, multiple coats can be applied if desired. In this case, it is important to make sure the wax has completely dried before attempting to re-apply.
How to Clean Polishing Pads
It’s very important to use a clean polishing pad with each use of the car buffer. Polishing pads can become caked with polishing product and debris from buffing which can harden when dried rendering the pad unusable.
To prevent this, it is best to store pads in an airtight container or bag. This keeps any product remaining in the pads moist allowing the pad to retain its flexibility.
To clean pads, start by soaking them in hot water. After a good hot soak, remove the pads from the water and wring them out. Most of the embedded product should run out with the hot water.
At this point, the pads may be machine washed in hot water. This works for foam, microfiber, and terrycloth pads.
If you only buff your car 1-2 times a year, sometimes it’s just better to buy new pads and not risk it. They’re inexpensive and you’ll know for sure that there are no hidden debris in them that could scratch your vehicle’s paint.
When to Wax a New Car
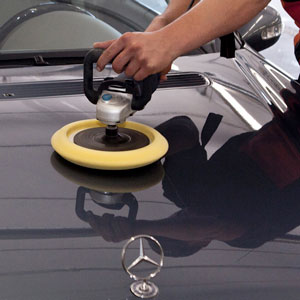
Polishing and waxing your new car can help to reduce the appearance the appearance of orange peel as well as protecting the undefiled clear coat.
Before polishing and waxing a brand new car, you should consider that a car’s paint should not be polished for at least 3 months from the build date. The clear coat needs this time to fully cure.
Upon purchase, you should verify the build date of your vehicle. This info can usually be found in the vehicle VIN or it may be provided by the dealer. In many cases, your new car is already more than 3 months old.
How Much Does it Cost to Buff a Car Professionally?
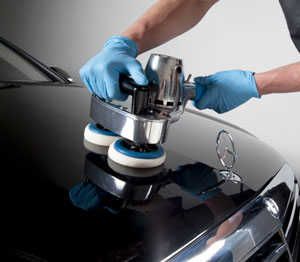
The variables involved include the vehicle type, the specific product and equipment required, and the level of detail requested. Often, the worse the current paint condition, the more time and product that will be required to restore the finish.
Professional detail providers are skilled tradesmen if not outright artists, so the rates charged can vary wildly depending on demand, but don’t expect to pay any less than $100 for basic service.
Your car is your pride and there are few joys that equate to the joy of completely detailing your car and standing back to marvel at your work. Aside from the joy of accomplishment, learning to buff and wax your own car can save a lot of money.


